 Save
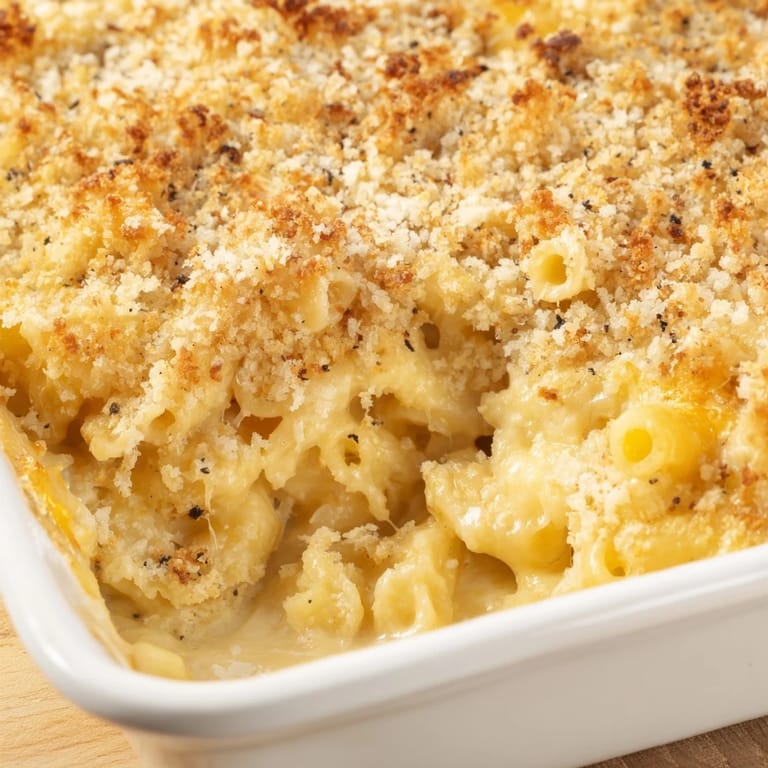
Save Rainy Sunday afternoons were made for this kind of cooking. Something about the steady rhythm of whisking milk into butter and flour, the way sharp cheddar melts into glossy folds, transforms a gray day into something cozy. I started making mac and cheese this way after a college roommate showed me how her grandmother did it, and honestly, boxed stuff hasn't crossed my threshold since.
Last winter my sister came over after a terrible week at work, and I made a double batch. We stood at the counter eating it from the pan, still in our coats, while she vented about everything and nothing. Food this simple has a way of making conversations feel easier.
Ingredients
- 250 g (8 oz) elbow macaroni: Elbows hold onto cheese sauce beautifully in those curved little pockets, and slightly undercooking them means they finish perfectly in the oven if you bake it
- 2 tbsp unsalted butter: This forms the foundation of your roux, so use real butter, nothing spreadable or faux
- 2 tbsp all-purpose flour: The thickening agent that turns melted butter and milk into velvety sauce magic
- 500 ml (2 cups) whole milk, warmed: Cold milk can make your roux seize up, so give it a quick zap in the microwave first
- 200 g (2 cups) sharp cheddar cheese, grated: Buy blocks and grate it yourself, pre-shredded cheese has anti-caking agents that make sauce grainy
- 50 g (½ cup) Gruyère or mozzarella cheese, grated: Optional but adds that restaurant-style creaminess and extra depth
- ½ tsp mustard powder: The secret ingredient that amplifies cheese flavor without making it taste like mustard
- ¼ tsp ground black pepper: Freshly cracked adds brightness that cuts through all that richness
- ½ tsp salt: Adjust based on how salty your cheese is, taste as you go
- 40 g (⅓ cup) panko breadcrumbs: For the baked version, panko creates the most incredible crispy crunch
- 1 tbsp unsalted butter, melted: Tossing breadcrumbs with melted butter helps them golden evenly
- 2 tbsp grated Parmesan cheese: Adds salty umami to the topping layer
Tired of Takeout? 🥡
Get 10 meals you can make faster than delivery arrives. Seriously.
One email. No spam. Unsubscribe anytime.
Instructions
- Get your oven going if baking:
- Preheat to 200°C (400°F) now so it's ready when your sauce is done
- Cook the pasta just right:
- Boil salted water and cook macaroni about 1–2 minutes less than the package says, it should have a little bite since it cooks more later
- Build your roux base:
- Melt 2 tbsp butter over medium heat, whisk in flour and stir constantly for 1–2 minutes until it's smooth and smells slightly nutty but not brown
- Make it saucy:
- Slowly whisk in warm milk, a little at a time, stirring out any lumps before adding more, then cook 3–4 minutes until it bubbles and thickens nicely
- Add the cheese:
- Pull pan off heat and stir in cheddar and Gruyère until melted and smooth, then season with mustard powder, pepper, and salt
- Combine everything:
- Pour drained macaroni into the cheese sauce and stir until every piece is coated in that gorgeous orange goodness
- Choose your adventure:
- Eat it now straight from the pot, or pour into a greased baking dish if you're going for the crispy top version
- Make the topping:
- Mix panko, melted butter, and Parmesan in a small bowl until combined
- Bake until golden:
- Sprinkle topping evenly over pasta and bake 15–20 minutes until bubbly and bronzed, then let it rest 5 minutes so portions hold together
 Save
Save This recipe became my go-to the first time I hosted Thanksgiving and my vegetarian cousin couldn't eat the main dish. She took three servings and asked for the recipe before we even cleared the table.
Making It Your Own
Once you master the basic sauce, you'll start seeing possibilities everywhere. I've added caramelized onions, swapped in gouda for smokiness, mixed in roasted broccoli when I need to feel virtuous about serving pasta for dinner.
Stovetop Versus Baked
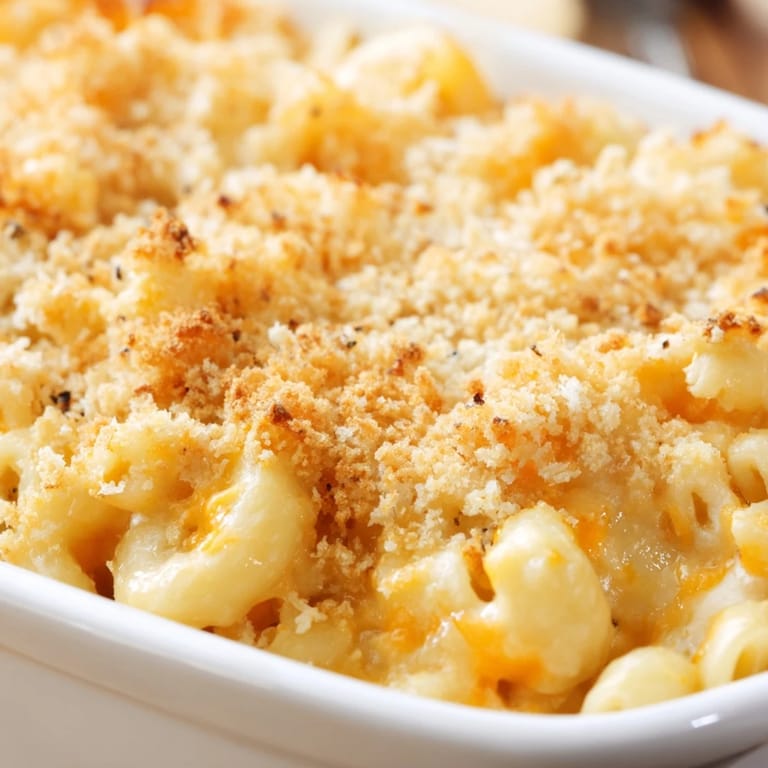
Sometimes comfort food shouldn't wait, and stovetop mac and cheese is ready the moment the sauce coats the pasta. But when I have time, that golden breadcrumb crust is worth the extra twenty minutes, especially when serving company or meal prepping for the week.
Making It Ahead
You can assemble everything up to a day before baking, just cover it tightly and refrigerate, but add an extra 10 minutes to the baking time since it's starting cold. The sauce thickens overnight, so you might need to splash in a little extra milk before it hits the oven.
- Leftovers reheat surprisingly well in the microwave with a splash of milk
- Freeze unbaked portions for up to three months, thaw completely before baking
- If the sauce looks too thick after refrigerating, thin it with warm milk before reheating
 Save
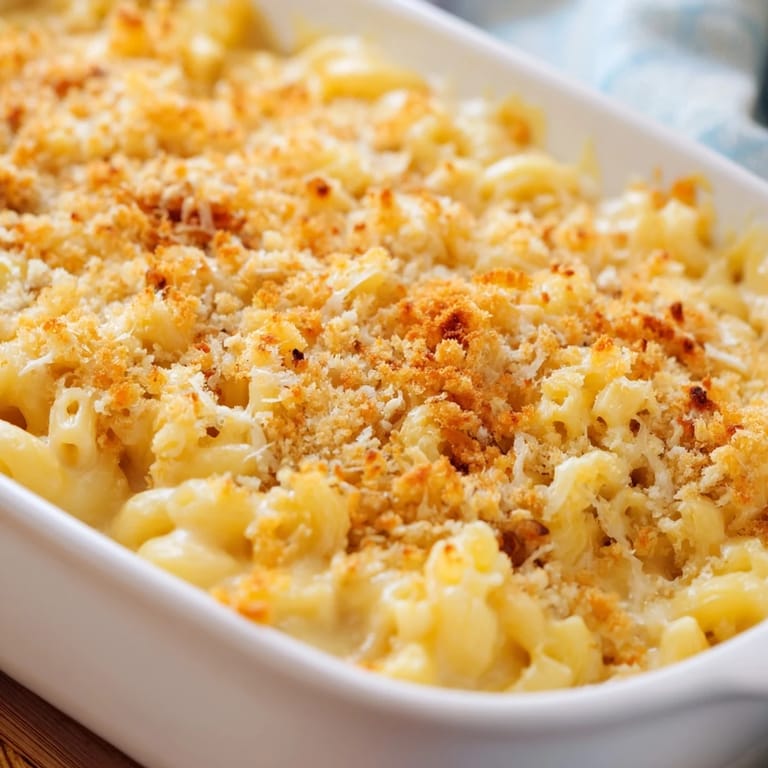
Save Some dishes are just worth the extra effort, and homemade mac and cheese rewards every minute with that first creamy, crunchy, perfect bite.
Recipe FAQs
- → What type of cheese works best?
Sharp cheddar provides the signature flavor, while Gruyère or mozzarella adds extra creaminess. The combination creates a perfectly balanced sauce that coats every bite.
- → Can I make this on the stovetop?
Absolutely. After coating the macaroni in the cheese sauce, serve immediately. The stovetop version offers the same creamy texture without the baking step.
- → How do I prevent grainy cheese sauce?
Use warmed milk and stir constantly when adding it to the roux. Remove from heat before incorporating cheese, and add gradually while stirring until smooth.
- → Can I prepare this ahead of time?
Yes. Assemble everything in the baking dish, cover tightly, and refrigerate for up to 24 hours. Add 10-15 minutes to the baking time when cooking from cold.
- → What additions enhance the flavor?
Cooked bacon, caramelized onions, or a pinch of cayenne pepper add delicious depth. For extra richness, substitute some milk with heavy cream.
- → Is this suitable for gluten-free diets?
Simply substitute regular pasta and flour with gluten-free alternatives. The technique remains identical, ensuring everyone can enjoy this classic comfort dish.